Why Getting the Right E-Bike for School Runs Matters
Ever thought an e-bike would simplify our school run? It can — but the wrong choice turns calm mornings into chaos. We’ve seen parents pick bikes for looks, skip safety checks, or underestimate daily range. That leads to late drop-offs, soggy kids, or bikes that don’t fit our routes.
We’ll walk through seven common mistakes and clear fixes so we can choose a bike that’s safe, reliable, and actually makes the school run easier. We’ll cover range and battery needs, child seats and secure loads, brakes and handling, useful accessories and weather protection, legal and insurance checks, and simple maintenance and storage planning. Let’s make mornings better and calmer.

Mistake: Choosing Based on Looks or Trend Over Practical Needs
We fall for style — then regret it on wet mornings
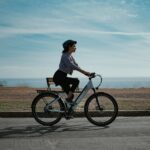
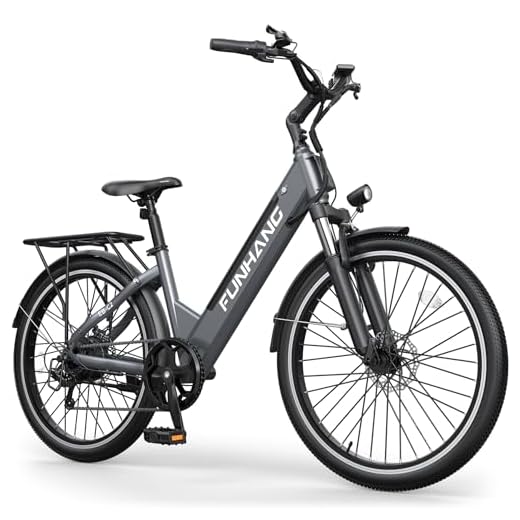
It’s easy to gush over a sleek frame or Instagram-friendly color. But for our school runs, looks don’t keep a toddler seated or a backpack dry. We should prioritize features that make daily life simpler: low step-through frames, upright geometry for visibility, and seats or racks rated for real child and cargo weights.
Match the bike to the route and who’s riding
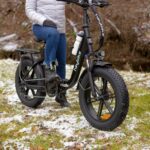
A lightweight city e-bike might be gorgeous and quick on flat routes, but will struggle with hills when loaded with kids and schoolbags. Conversely, a mid-drive cargo e-bike or a hub-motor step-through with a bigger battery performs better on steep commutes and heavier loads. Think: are we doing short, flat rides or regular climbs with two kids and groceries?
Look for real-world features, not just styling cues
- Low, wide step-through for easy mounting with a child on our lap or a heavy backpack.
- Upright handlebars and a stable wheelbase for predictable handling with a passenger.
- Sturdy racks or integrated child seats with clear rack load ratings (many commuter racks are 25–40 kg; cargo frames often exceed 100 kg).
- Easy-to-read controls and removable batteries for charging in tight storage spaces.
Simple decision checklist
- Who and how many do we carry?
- Typical distance and elevation?
- Storage size and step-in height at home?
- Manufacturer rack/child-seat weight ratings?
- Can we mount/dismount confidently with a child in our arms?
Keep aesthetics as the tie-breaker — once those practical boxes are checked, we’ll still have plenty of stylish, safe options.
Mistake: Underestimating Realistic Range and Battery Needs
Why advertised ranges rarely match our school runs
Manufacturers quote range from ideal lab tests: light rider, steady speed, flat ground, and eco mode. We once trusted a “50‑mile” claim and found ourselves charging every other day. Stop‑and‑go driving with kids, frequent starts, hills, and a loaded rack cut that number dramatically.
How to estimate what we actually need
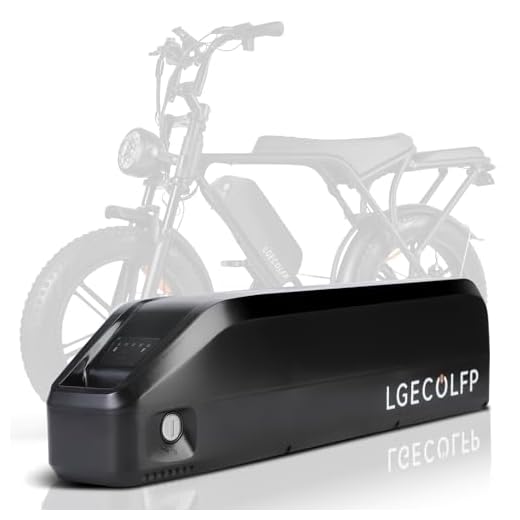
Start with a simple calculation: measure the round trip (home → school → errands → home) and add a 30–40% buffer for traffic, detours, and a child seat. Convert battery specs into watt‑hours (Wh) — for example, a 36V 10Ah pack ≈ 360Wh. A heavier payload or steep climbs can raise consumption by 20–50%, so choose a battery with extra capacity or plan a spare.
Practical charging and battery‑care tips
- Charge nightly (or after heavy days) and avoid running to 0%.
- Store at ~40–60% if unused for weeks; avoid extreme heat/cold.
- Use the manufacturer charger; keep contacts clean and dry.
- Consider a removable spare battery for busy weeks or long school‑holiday outings.
Simple in‑ride power savers
- Use lower assist in flat sections and pedal more.
- Maintain tire pressure and remove unnecessary cargo.
- Smooth acceleration and coasting between stops saves energy.
If we plan realistic range and battery habits now, our e-bike will reliably get us to class on time — and make it easier to focus next on handling, braking, and overall weight for safety.
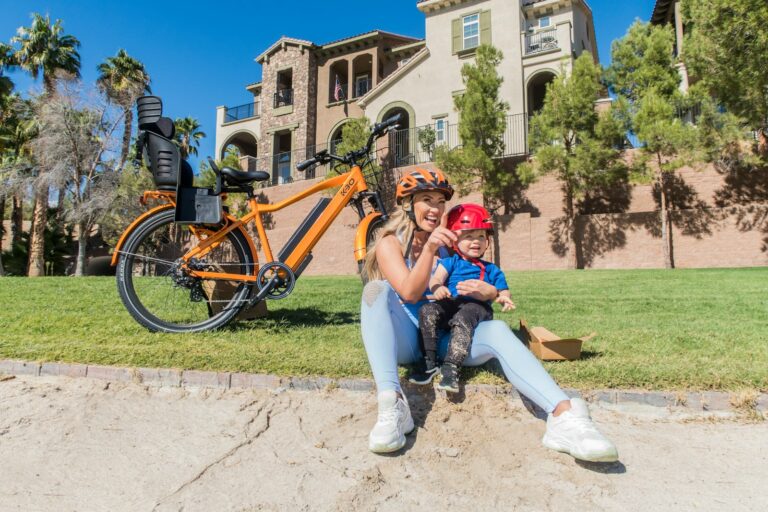
Mistake: Ignoring Child Safety and Proper Seating Options
Seat types and when to use them
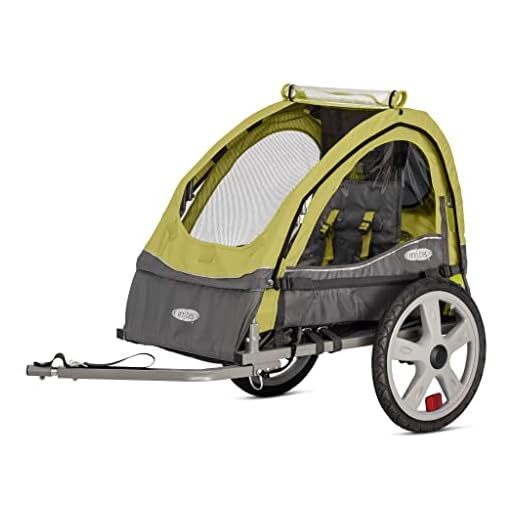
Not every bike-seat combo works for school runs. Rear child seats (e.g., Thule Yepp Maxi) are great for toddlers who can sit upright and weigh up to ~22 kg; they keep our child close and visible in mirrors. Front-mounted seats (e.g., Yepp Nexxt Mini) suit very young riders 9–18 months — we can soothe them and monitor breathing, but they raise handlebar weight and can make steering twitchy. Cargo bikes (Bakfiets, Urban Arrow, Yuba Supermarché) move the load low and central, which improves balance for heavier kids or two-child setups.
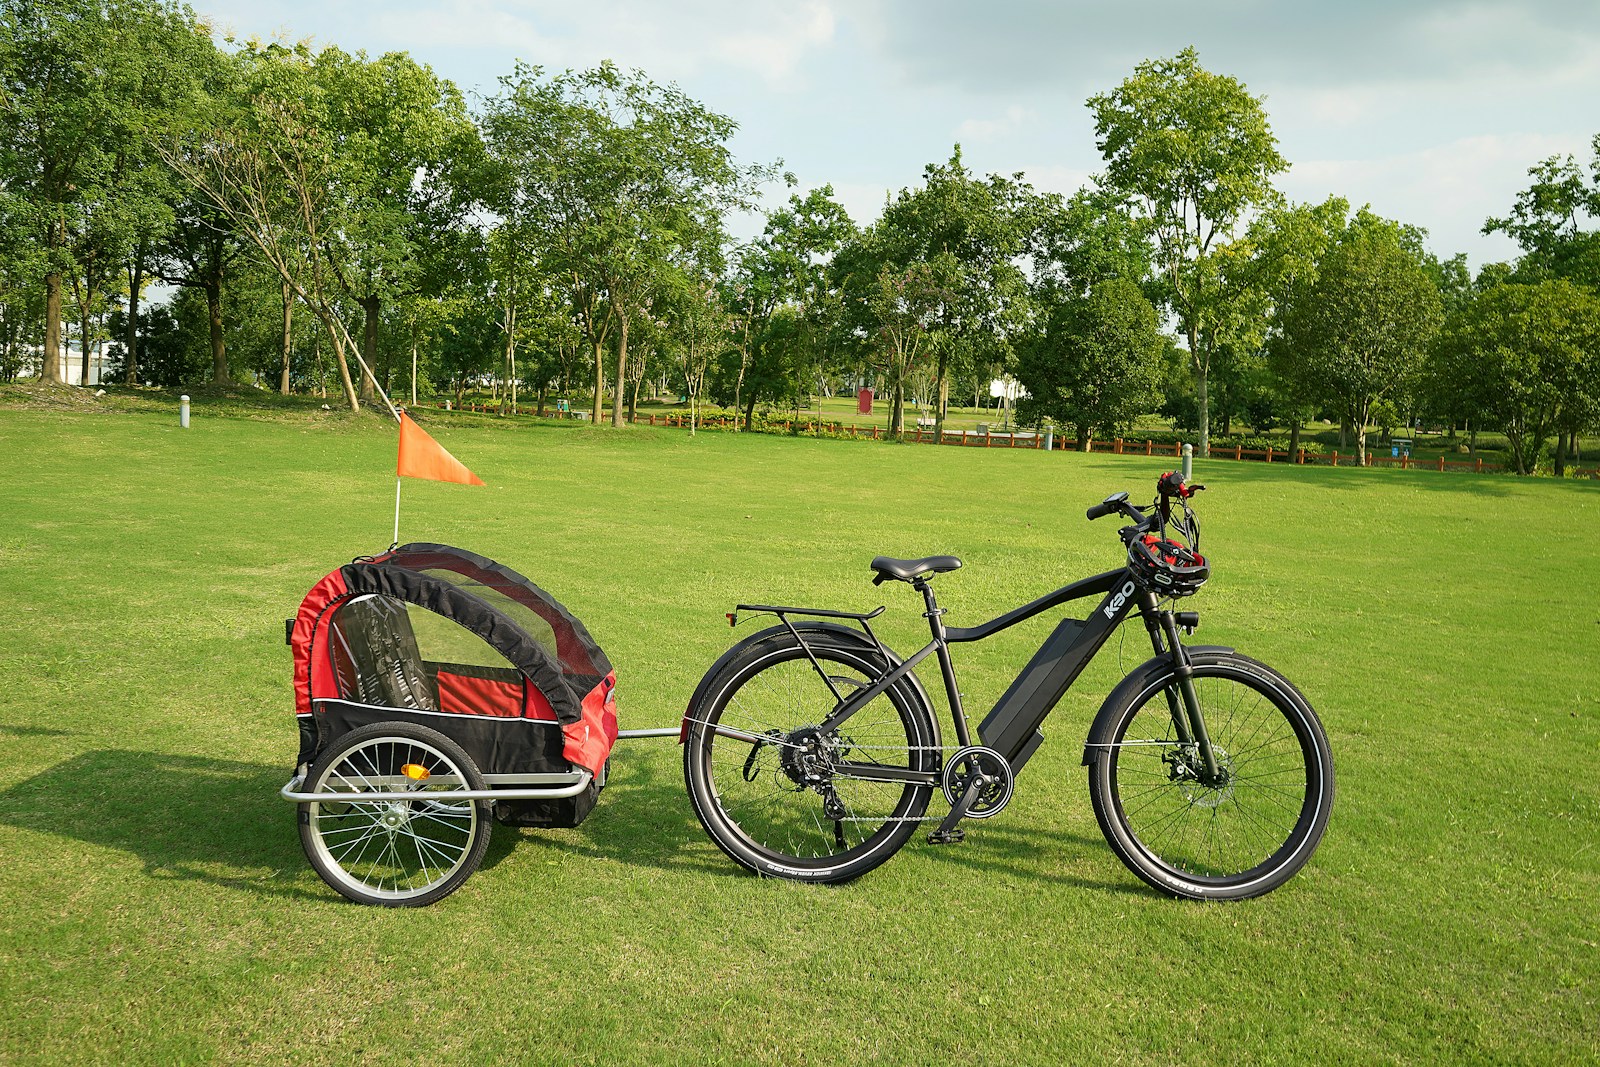
Trailers are ideal for infants, naps, and uphill routes because they don’t affect bike steering and often have suspension.
Safety features to insist on
- Secure, adjustable 5‑point harness (no loose straps).
- Foot protection: enclosed foot wells or guards so toes can’t touch spokes.
- Clear weight/age limits — follow manufacturer specs (don’t “stretch” them).
- Proper child helmets that fit snugly; test fit before every trip.
Installation, handling and quick tests
Mount seats only to approved racks/frames; avoid DIY bolt-on adapters. After installation, we always:
- Do a slow neighborhood test ride with the child onboard.
- Practice low-speed turns and emergency stops.
- Check rear tyre pressure and brakes with the added load.
Legal & safety checklist
- Approved seat trailer standard (e.g., EN 14344) if applicable.
- Reflectors, rear light, and high‑visibility flag for trailers.
- Local rules on helmets/age limits.
- Regular harness and mount inspection.
With these checks and the right seat choice, our school run becomes safer and calmer for everyone.
Mistake: Overlooking Braking, Handling, and Weight Considerations
Why it matters for school runs
An e‑bike’s extra weight and torque change everything: stopping distance, steering feel, and how the bike reacts in a turn — especially with a child aboard. Loaded bikes can take 30–50% longer to stop and feel sluggish in quick direction changes, so we need to plan for that.
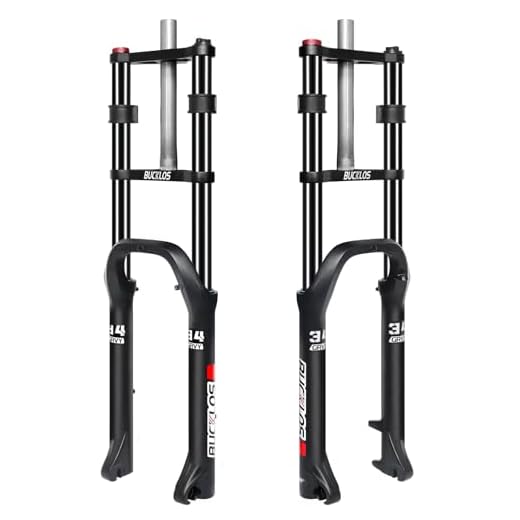
Brakes: choose for load, not looks
Hydraulic disc brakes give consistent modulation and fading resistance under load — look for 4‑piston front calipers (e.g., Shimano or Magura) or well-reviewed 2‑piston systems with large rotors. Aim for rotor sizes: 180–203mm front, 160–180mm rear. Avoid rim brakes on heavy, wet school‑run setups.
Tires, steering and suspension
Wider tires (from ~2.3″ up to fat‑bike widths) add grip and soak up bumps; lower pressures improve traction but slower rolling speed. A short‑travel suspension fork or a suspension seatpost helps on cobbles and curbs. Keep steering stable: cargo or low‑step frames move weight lower and reduce twitchiness.
Safe braking and handling techniques
- Use both brakes progressively; don’t rely on the front only.
- Shift your weight slightly rearward with a child onboard to avoid overloading the front wheel.
- Straighten before you brake hard; avoid sharp turns while stopping.
Quick test‑ride checks (do these loaded)
- Emergency stop from ~15 km/h with your typical load.
- Tight slow turns and curb mounts/unmounts.
- Wet-surface braking.
If anything feels vague or grabs, don’t buy — test more bikes until we find one that instills confidence before we add accessories.
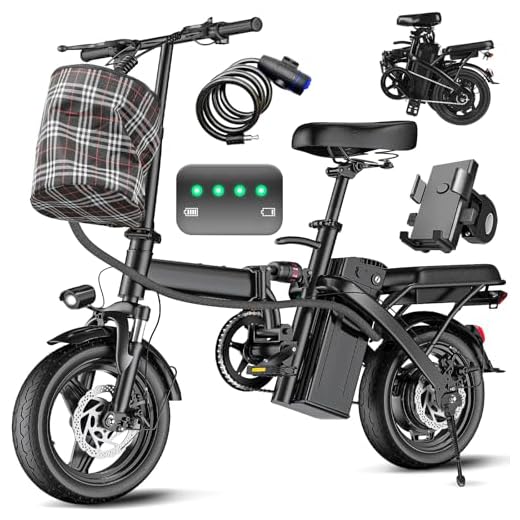
Mistake: Skimping on Practical Accessories and Weather Protection
We’ve all been tempted by a shiny, bare-bones e‑bike that “does the job” — until the first rainy commute, a loose pannier, or a stolen phone taught us otherwise. Small add-ons transform a school run from stressful to smooth; they’re worth the upfront cost in time saved, dryness preserved, and fewer midweek dramas.
Must-have accessories for school runs
Essential gear we shouldn’t skip:
- Robust front and rear lights (visible from a distance)
- Reflective clothing or clip-on strips for kids
- Full-length fenders to stop road spray
- Heavy-duty kickstand (double‑leg) rated for cargo
- High-security lock (Abus Granit or equivalent)
- Secure phone mount (Quad Lock or similar)
- Rain protection: waterproof panniers, child seat covers, and a pushchair‑style rain canopy

Why spend on racks, panniers, and seat covers
A cheap basket warps under weight; a well-built rack (Thule Pack ’n Pedal, Tubus) holds a child seat or two panniers safely. Ortlieb panniers keep lunchboxes dry and are easy to wipe clean. For kids, consider the Thule Yepp Maxi or Bobike with a weatherproof cover—keeps kids dry and prevents soggy uniforms. A sturdy kickstand (Ursus or Hebie) stops tipping during loading and unloading.
Budgeted priorities
- Tight budget: lights, fenders, decent lock, reflective vest.
- Mid-range: metal rack + panniers, double kickstand, child rain cover.
- Splurge: integrated lighting, premium child seat, high-end lock, waterproof luggage.
Before school starts, we mount everything and do a wet-run; small prep prevents soggy mornings.
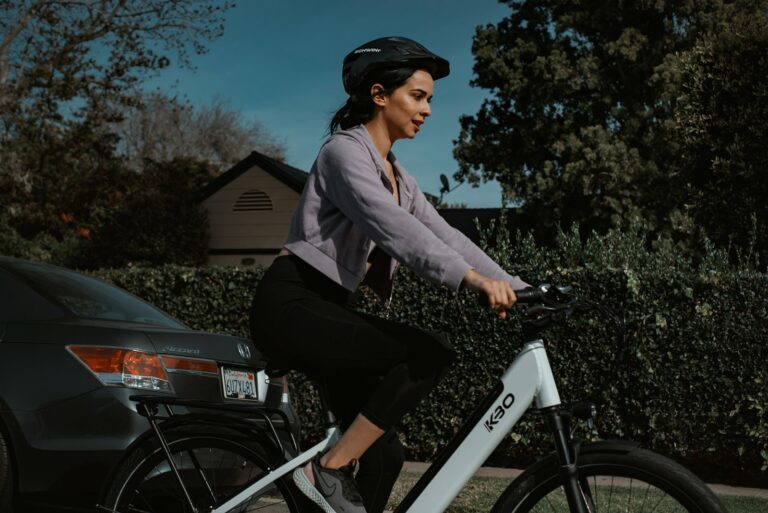
Mistake: Skipping Test Rides, Local Rules, and Insurance Checks
Make test rides realistic
We can’t stress this enough: test rides should mimic the school run. Bring the child seat, a loaded backpack, and a 20–30 lb weight (or your child’s helmet) to simulate real mass. Try starts and stops at a crosswalk, ride up a hill, and practice mounting/dismounting with the seat occupied. Pay attention to:
- how low and easy the step‑through is
- saddle and handlebar reach (can we keep an upright view?)
- the feel of pedal‑assist vs throttle (is power smooth or jerky?)
- stability during slow maneuvers and while turning with weight
We once test‑rode a commuter that felt spritely empty but wobbled with a rear child seat—catch issues now, not later.
Involve kids safely
If stores won’t allow live passengers, use a weighted bag or a child‑sized doll in the seat. When a child rides, always use a helmet and do the first short loop in a quiet car‑free area. Observe how easily we can secure harnesses and speak to the child from the saddle.
Check rules, insurance, and service
Before buying, check local regulations: e‑bike class (1/2/3), max assisted speed, and explicit child‑seat rules (age/weight/position). Ask stores about battery warranties (years, cycle guarantees), first service included, and spare part availability. For heavier cargo e‑bikes, consider registration or liability insurance—some insurers offer add‑ons for e‑bikes. Negotiate a test‑ride period, a service plan, or a longer warranty where possible so we avoid surprises after purchase.
Mistake: Failing to Plan for Maintenance, Storage, and Long-Term Costs
Everyday maintenance we can do
Small routines save big headaches. Weekly and monthly checks are quick and teachable for the whole family:
- Check tire pressure and quick visual tread check (once a week).
- Test brakes for pad wear and lever travel (every 2–4 weeks).
- Wipe down the battery contacts and keep connectors dry (after wet rides).
- Lube the chain with a wet lube in winter, dry/wax lube in summer (every 200–300 km or monthly).
We once left a battery in a freezing shed and noticed a dip in range the next season—simple habits avoid that.
Service intervals and when to call a pro
Plan a professional tune-up once a year or every 1,000–2,000 miles (1,600–3,200 km). Bring it in sooner if you hear grinding, feel spongy brakes, or the motor whines. Expect full brake jobs, wheel truing, and electrical diagnostics at those visits.
Smart storage and seasonal care
Store the bike indoors if possible. If not, keep the battery inside at 40–60% charge and temperatures between about 10–25°C. For winter riders: rinse salt off after rides, use fenders, and use a wetter lube to resist corrosion. Remove battery for long-term storage.
Budgeting total cost of ownership
Estimate annual running costs at roughly 5–10% of the purchase price: tires/inner tubes ($20–$80), brake pads ($15–$50), annual tune ($80–$150), and eventual battery replacement ($400–$900+ for many models like Bosch‑equipped bikes). Factor these into our decision so the monthly cost stays predictable.
With these habits in place, we protect our investment and keep school runs smooth—now let’s wrap up with how to choose the right e‑bike for our family.
Make the School Run Easier and Safer with Thoughtful Choices
Choosing the right e-bike for school runs doesn’t have to be daunting. By avoiding the common mistakes we’ve covered — favoring looks over practicality, misjudging range, neglecting child seats, ignoring brakes and weight, missing accessories and weather protection, skipping test rides or rules, and underplanning maintenance — we can buy with confidence. Use our fixes: prioritize range and safety, fit proper seating, test handling, and add pragmatic accessories.
Before we buy, let’s test-ride candidate bikes, check local regulations and insurance, and run through a short checklist of battery, brakes, child safety, storage, and service plans. A considered choice makes our school runs safer, calmer, and more enjoyable. Happy riding — and safe trips.