Ready for Comfy 10-Mile Rides?
We want our 10-mile commutes to feel easy, pleasant, and family-friendly. This guide shows simple, affordable e-bike tweaks—fit, comfort, power, and safety—so our daily rides become reliable, less sweaty, and more enjoyable for everyone of all ages and every day.
What We’ll Need
- Our commuter e-bike
- Basic tools: Allen keys, torque wrench, tire levers
- Replacement saddle and grips
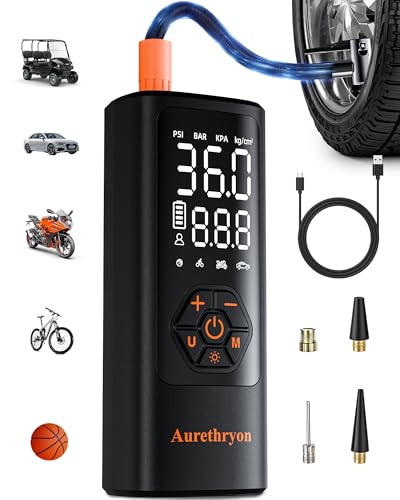
- Pump and pressure gauge
- Simple electrical tester
- Comfort accessories: lights, fenders, rack
- A willingness to tinker together
Assess Our Current Setup and Commute
Observe what actually makes our rides uncomfortable: pinched backs, numb hands, battery anxiety, or bumpy roads. Ride one trip deliberately and take notes.
Map the route and record traffic pinch points, hill severity, and surface quality (potholes, gravel, smooth bike lanes). Take a quick photo of trouble spots.
Weigh the bike loaded like we normally would—child seat, panniers, and groceries—to see real-world weight and handling.
Note recurring aches and mechanical quirks: loose headset, stiff fork, or intermittent motor cutoff.
Prioritize upgrades using a simple checklist:
- Big comfort wins first (saddle, grips, suspension)
- Range and reliability next (battery tune, tire choice)
- Cosmetic or low-impact fixes last

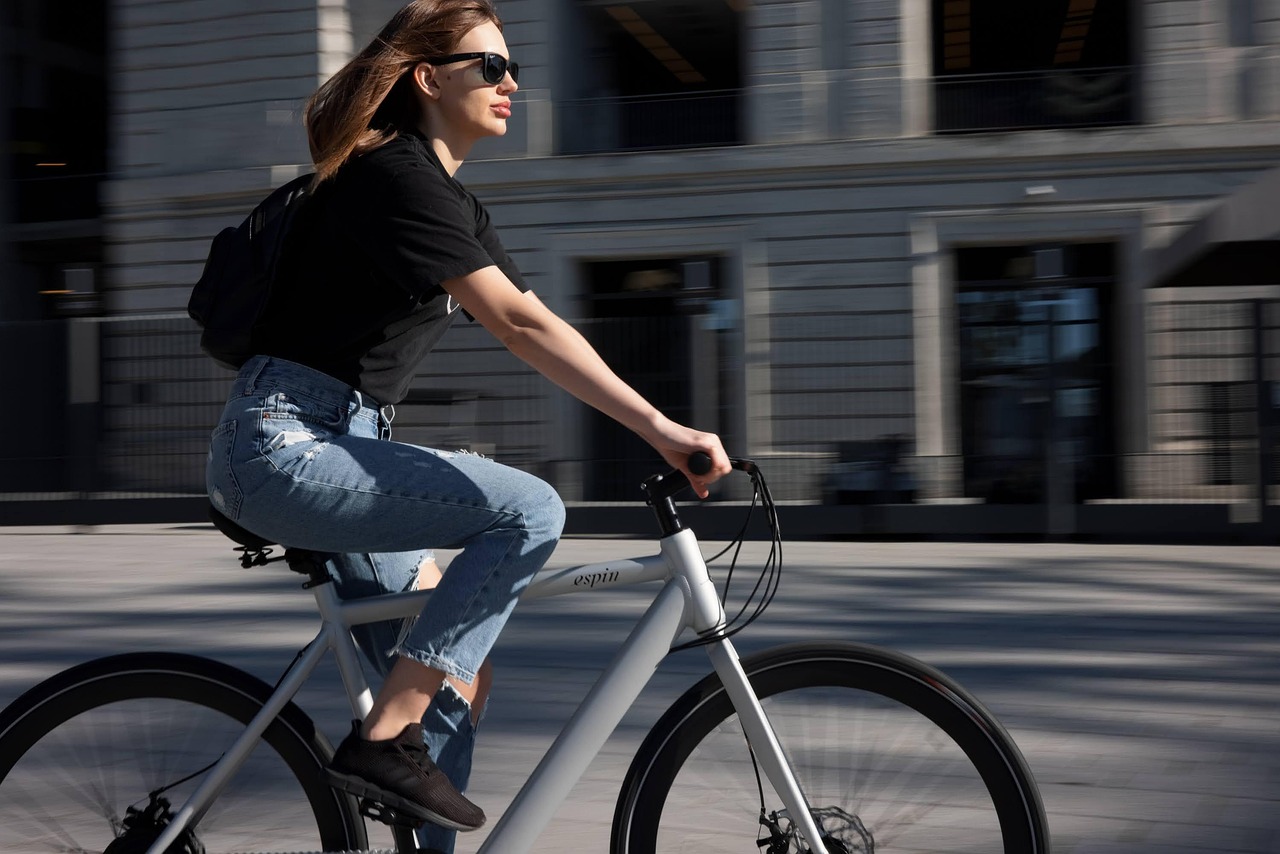
Optimize Riding Position for Comfort
Adjust saddle height so we keep a slight knee bend (about 25–35°) at the pedal’s lowest point. Use the heel-on-pedal trick or a smartphone angle app: with our heel on the pedal and leg straight, the saddle is correct when our hips don’t rock.
Set fore-aft saddle position so our kneecap stacks over the pedal spindle when the crank is horizontal (KOPS). Move the saddle forward or back a few millimeters and recheck—small shifts make big comfort differences.
Tilt the saddle level or slightly nose-down (≤5°) to relieve pressure.
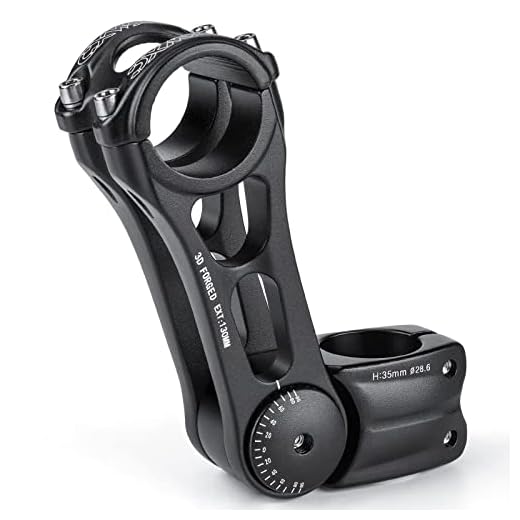
Raise or shorten the handlebars to avoid hunching: swap to a shorter/adjustable stem or add spacers. If we feel sore after 10 minutes, raise the bars 20–40 mm or shorten the stem 20–30 mm.
- Record measurements (saddle height, setback, stem length/height) or save them in a bike-fit app to repeat reliably.
Pick a Saddle and Grips That Actually Fit
Measure our sit-bone spacing, then test saddles of similar width—start with one that matches our measurements and feels like it “shelters” the sit bones. Try designs with modest foam padding or a center cutout for pressure relief; avoid overly soft, pancake saddles that cause chafing.
Choose grips and pedals that stabilize our hands and feet:
- Saddle width = our sit-bone spacing (measure at home or ask a local shop)
- Sheltering shape or a small cutout for pressure relief
- Ergonomic grips or padded bar tape to reduce numbness
- Short platform pedals or toe straps for steady foot placement
Always swap parts, take short 5–15 minute test rides, and tweak position until pressure points vanish—comfort beats looks on daily trips.

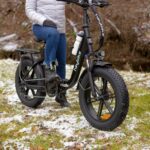
Soften the Ride: Suspension and Tire Choices
Install or tune a suspension seatpost or fork if our frame supports it—look for 30–50 mm travel for seatposts and simple coil/fair-value forks for light commuting. Test one short ride and dial rebound/preload for our weight.
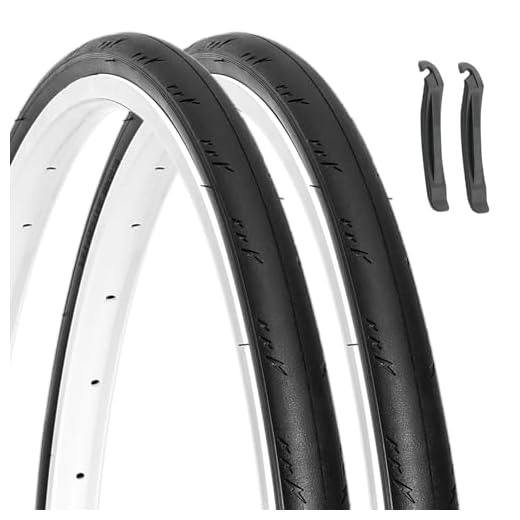
Choose wider tires with a puncture-resistant layer to soak up vibration. Swap narrow slicks for 28–40 mm commuter tires (often the biggest comfort win with little speed loss). Lower pressure from racing levels to a family-comfort sweet spot:
- Suspension: add a suspension seatpost (30–50 mm) or a compatible fork; adjust preload/rebound for our weight.
- Tires & pressure: use 28–40 mm with puncture belts (Kevlar/aramid); aim roughly 40–60 psi (2.8–4.1 bar) depending on width and rider weight.
Try combinations on a familiar 10‑mile loop and tweak until bumps feel gentler without pinch flats.
Tune Power and Battery for Reliable Range
Optimize pedal-assist levels for steady use rather than full throttle; set PAS to the lower middle (e.g., 2–3 of 5) for consistent support and longer range—on our hilly 10‑mile loop we use level 2 and shift early.
Use eco or smart modes to stretch battery life and learn cadence habits that reduce motor load; aim for 60–80 rpm and spin to a harder gear rather than mashing the pedals.
Check firmware and motor settings periodically and balance cargo weight so range stays predictable for family commutes; move heavy items to panniers, not backpacks.
Consider a higher-capacity battery or hybrid mid-ride charging if hills shorten range; carry a compact USB power bank or plan a stop with an outlet for peace of mind.
- Check: battery health (state of charge, cycle count) and tire pressure before every ride
- Plan: use eco/smart modes and pack panniers to stabilize range

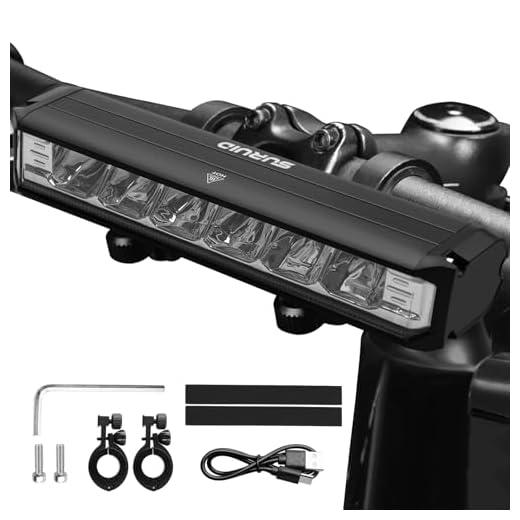
Add Practical Comfort and Safety Accessories
Install bright rechargeable lights front and rear — we choose USB-chargeable units (e.g., Lezyne, NiteRider) that clip on for easy charging. Fit full-coverage fenders so kids and gear stay dry on rainy school runs.
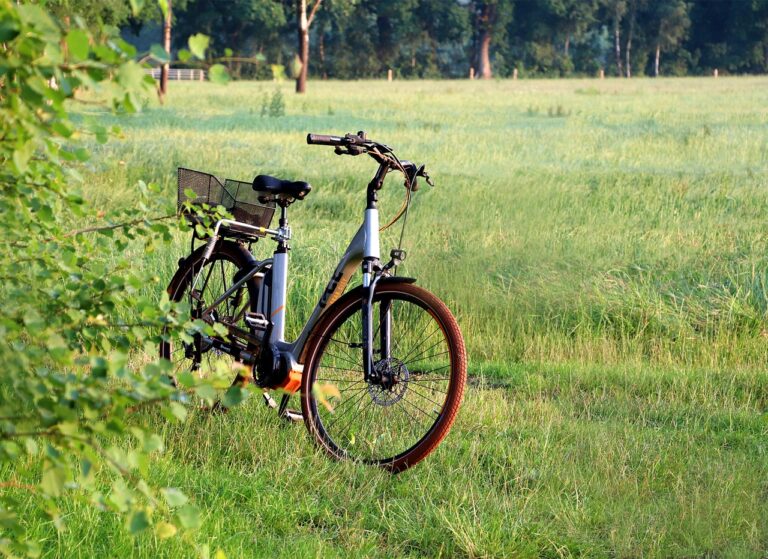
Mount a sturdy rear rack or a front basket to carry panniers, a grocery tote, or a toddler seat; we bolt racks to the frame or use a reliable seatpost clamp rack.
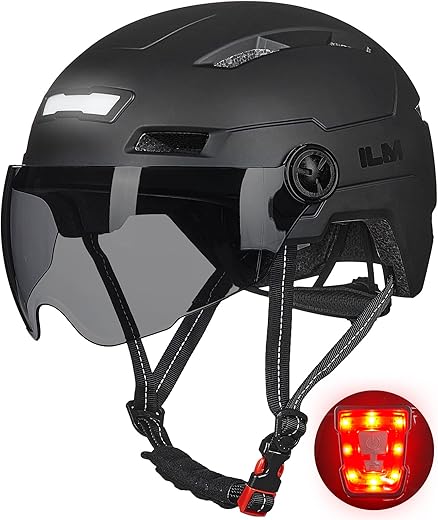
Add a bar mirror and a clear, loud bell so we can see and warn traffic. Apply reflective tape to racks and panniers and wear a comfortable helmet that fits each rider.
Keep predictable rides with simple maintenance:
- Clean drivetrain: degrease and lube chain regularly
- Check brakes: pads, pull and lever feel before every ride
- Inspect tires: look for cuts, proper pressure, and tread wear

Ready to Ride Happier
With a few targeted tweaks to fit, suspension, tires, power management, and accessories, we transform our e‑bikes for comfortable, safer, family‑friendly 10‑mile commutes—enjoying smoother, more reliable daily rides together; what small change will make your commute happier and easier tomorrow?