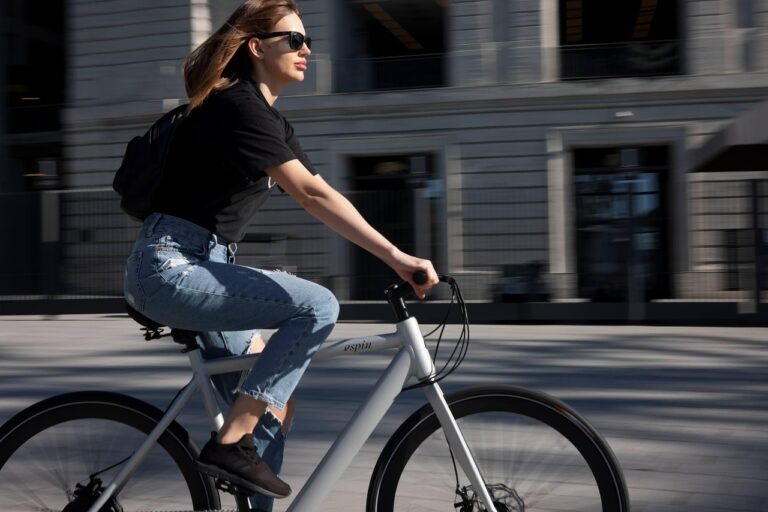
Keeping Little Riders Safe: Installing Child Safety on Our Family E-Bike
We’ll guide our family through choosing and installing the RIGHT child seat and protective accessories, securing harnesses, and adjusting our e-bike for extra weight. We’ll test brakes, improve stability, and practice safe riding to keep every ride joyful and secure.
What We Need Before We Start
We’ll need:
- Compatible child seat or carrier
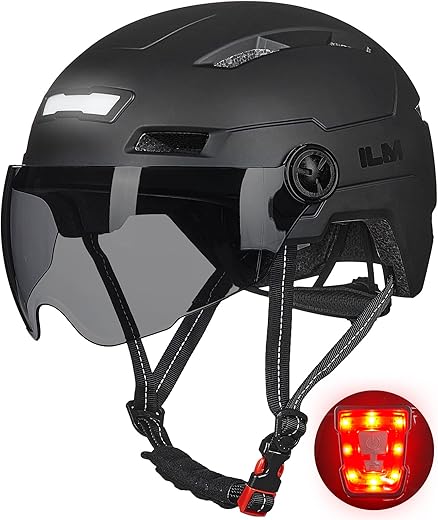
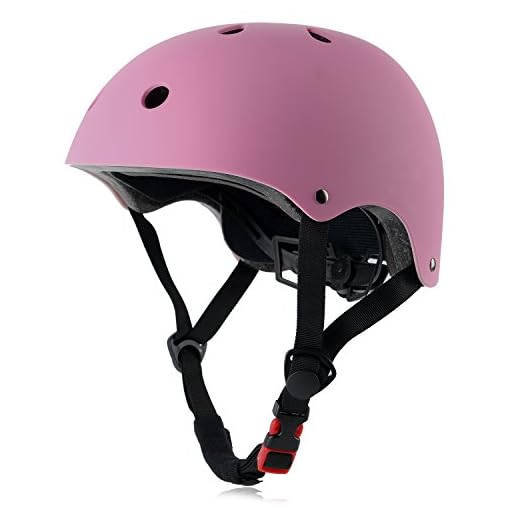
- Child helmet and harness
- Basic tools: Allen keys, torque wrench
- Mounting rack if required
- Reflective accessories
- Time for careful fitting and test rides

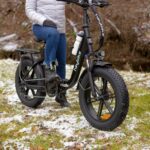
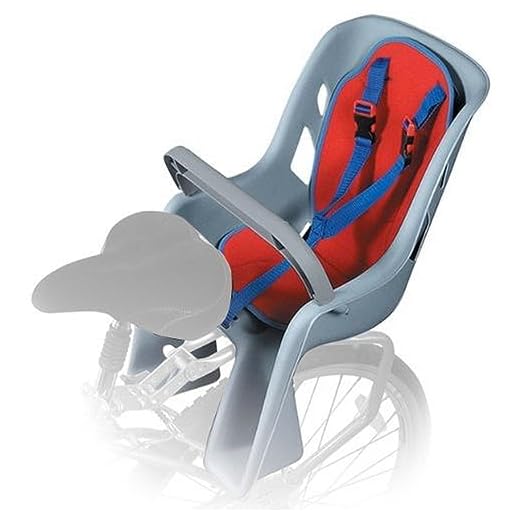
Choose the Right Child Seat or Carrier
Choose a seat type that fits our family: rear-mounted toddler seats, front-mounted seats, child trailers, or child pods.
- Rear-mounted toddler seats
- Front-mounted seats
- Child trailers
- Child pods
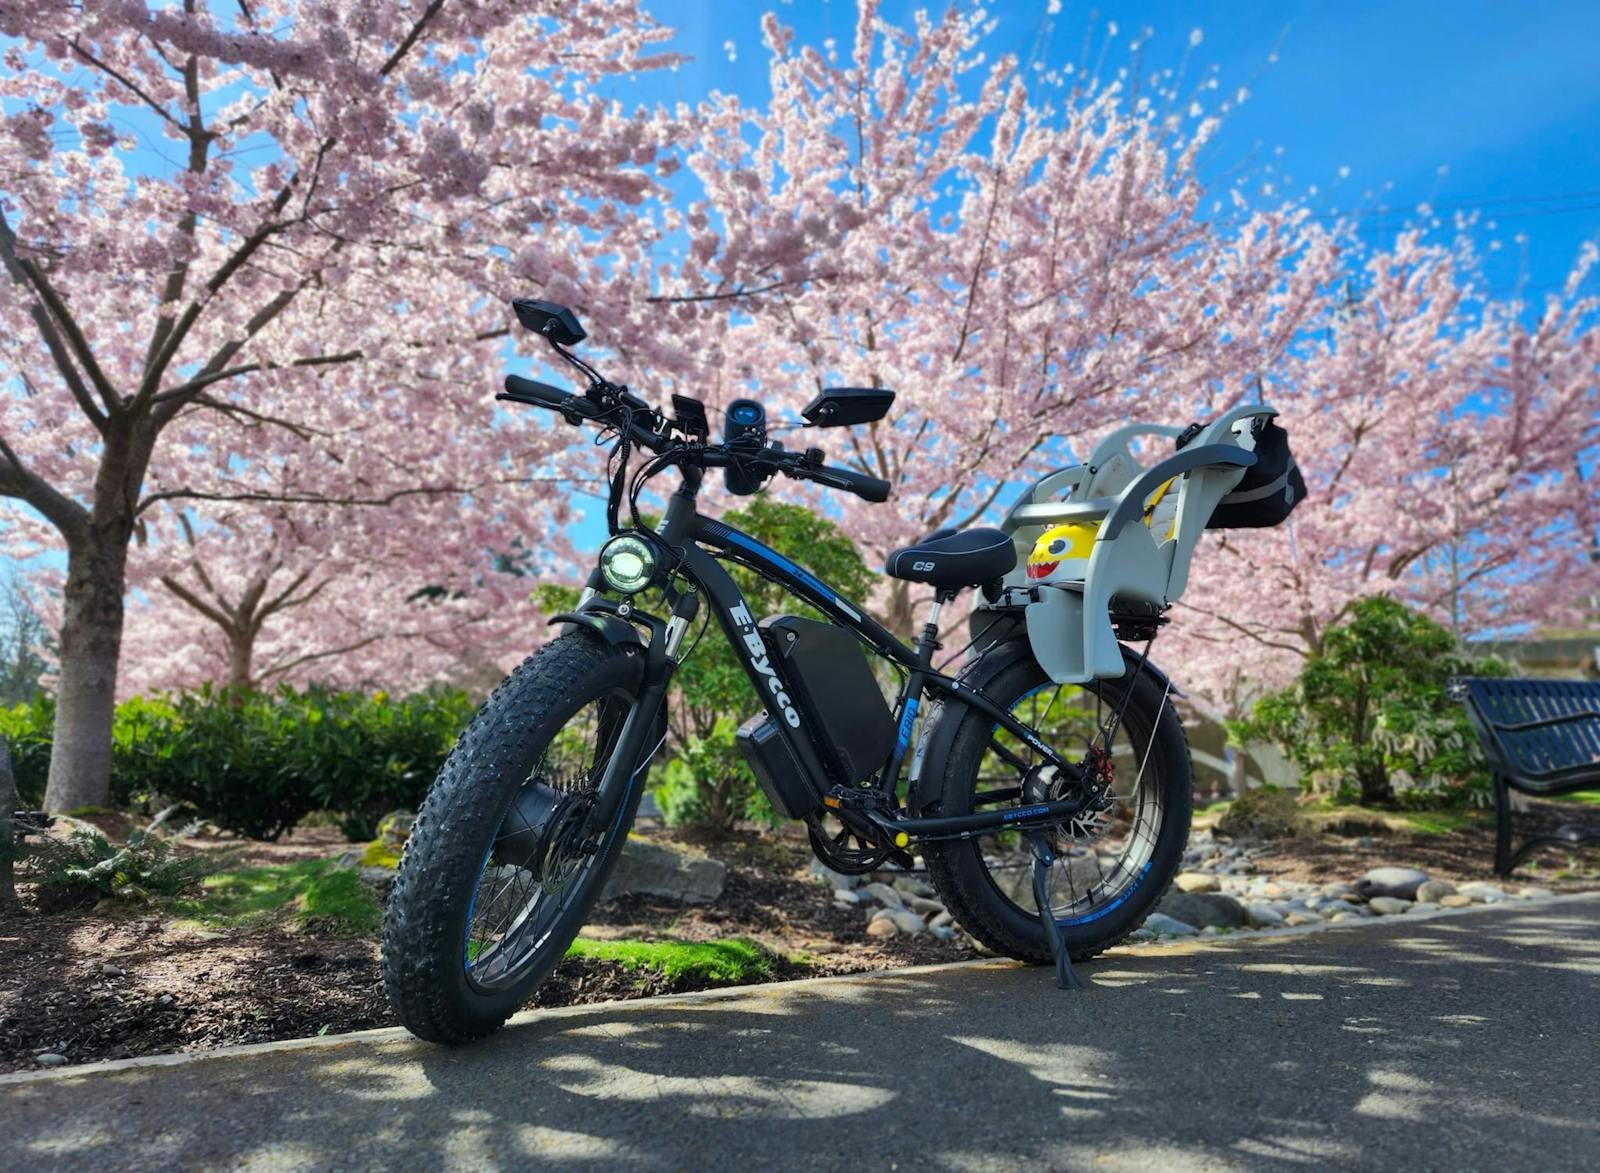
Compare weight and age limits on each model to match our child’s size and our e-bike’s maximum load. Check compatibility with our bike frame and battery placement and avoid mounts that contact a mid-frame battery. Measure from the seat post to the rear axle (or cargo rack) to ensure there’s enough mounting space. Confirm rack or frame attachment points and whether an adapter or reinforced rack is required. Prefer models with an integrated 5-point harness and robust side-impact protection and look for certification like EN 14344 (or an equivalent local standard). Consider how easy it will be to load and unload our child and whether the seat will block lights, reflectors, or panniers. Imagine fitting a rear seat that still lets us grab the pannier for snacks—practical and safe.
Mounting and Positioning the Seat Securely
Use the manufacturer’s mount and follow their torque specs exactly; use a torque wrench on critical bolts. Follow the manual and tighten in the recommended sequence.
Confirm the rack or frame can handle the combined load (child + cargo). For example, if the rack is rated 30 kg and our child plus cargo totals 20 kg, we’re within limits. Follow compatible clamps for frame mounts and avoid any contact with a mid-frame battery.
Center the seat over the bike’s centerline to keep balance. Check clearances from spokes, chain, and panniers; leave at least a thumb’s width where possible. Install anti-rotation straps or safety tether where recommended.
Run a full bolt-check routine after our first test ride and again at 24 hours. Perform a hands-on shake and wiggle test to catch hidden movement.

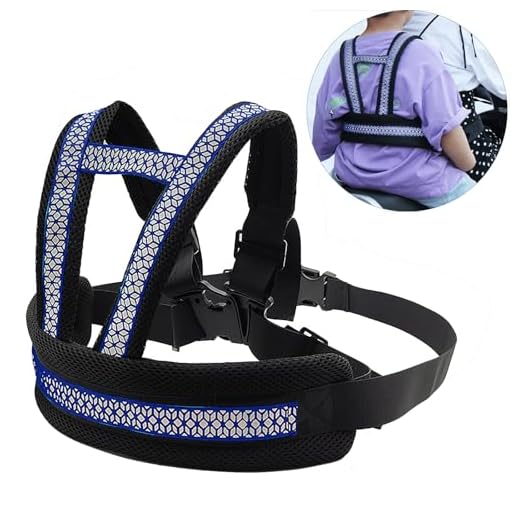
Install and Test Child Harnesses and Restraints
Install the harness exactly per the seat manual. Route straps through the manufacturer’s guides and clip buckles so webbing lies flat — avoid any twisting.
Clip the buckles and adjust shoulder and lap straps snugly; use the two-finger rule (we should fit two fingers between strap and child). Fasten any chest clip at armpit level if provided.
Inspect buckles and webbing for cracking, fraying, or brittleness and test-release each buckle to confirm smooth operation. Replace any damaged parts before use.
Test the restraint by simulating real motions: lean the seat side-to-side, perform a brisk forward stop, and sway as if reaching for a dropped toy. Confirm the child remains secure and comfortable.
Fit and test any tether or leg strap the seat supports, tightening to the recommended tension.
Add Protective Accessories: Windshields, Footrests, and Padding
Fit footrests and guards to keep little feet away from spokes and the drivetrain — use adjustable foot cups or metal cages and tighten mounting bolts to the recommended torque.
Add padded liners and seat cushions for longer trips; choose foam or machine-washable covers so we can clean spills and crumbs easily.
Install a small windshield or rain cover (for example, a clear plexiglass mini-shield or zip-on rain hood) to reduce wind chill and splash.
Attach reflective stickers and a daytime running light to the carrier and helmet to boost visibility.
Check these points:
- Avoid blocking ventilation or air flow to the rider.
- Avoid restricting harness movement or buckle access.
- Avoid shifting weight off the bike’s centerline.
- Choose washable, durable fabrics.
Double-check all mounts for tightness and test accessories on a short ride before carrying a child.

Check and Upgrade Bike Stability, Brakes, and Tires
Adjust tire pressures to the manufacturer’s recommendations for higher loads — check the sidewall and our owner’s manual. For example, increase rear pressure when carrying a child or cargo and re-check before each ride.
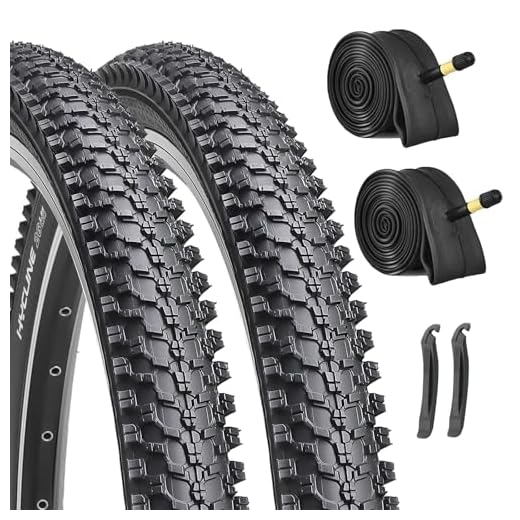
Upgrade to puncture-resistant tires if we ride on rough paths, and inspect rims and spokes for true and tight tension. Test braking power under load; upgrade to larger rotors or stronger brake pads if stopping feels long.
Verify the e‑bike’s motor cutoff and throttle/assist delivery remain smooth with a passenger aboard. If our bike has suspension, tune preload for the added weight.
Confirm the frame and rack are rated for child loads. Perform a controlled test ride, adding weight incrementally to validate handling and braking.
Practice Safe Riding Habits and Emergency Preparedness
Plan family-friendly routes that avoid heavy traffic, rough surfaces, and steep descents — pick quiet parks or low-traffic bike lanes for first rides.
Practice mounting, dismounting, and slow-speed balance in a quiet parking lot; try carrying a weighted backpack to simulate a child before using the real seat.
Establish simple on-bike rules and state them aloud: stay seated, keep hands inside, helmet always on.
Rehearse clear hand signals and smooth, gradual stops so our child knows what to expect.
Carry a compact emergency kit: multi-tool, spare tube or patch kit, mini pump, basic first-aid, portable phone charger, ID/cash.
Share our route and ETA with another adult and schedule regular maintenance checks to catch fit or wear issues early.
Do short practice rides regularly to build confidence and spot lingering fit problems.
Now We’re Ready to Ride Safely Together
With the right seat, secure mounting, tuned bike, and practiced habits, we can enjoy family e-bike rides with greater confidence; we’ll keep checking gear and reviewing routines as our child grows — are we ready for our next adventure together?